The Nextcloud desktop client for macOS allows the automatic sync of files stored locally on your Mac with files on your Nextcloud server. Once connected, changes made on either side are reflected automatically, which makes it easy to work across devices without manually uploading or downloading files.
The macOS operating system also supports the synchronization of calendars and contacts using the standard protocols. This means you can sync your calendar entries and contacts directly with Nextcloud, even without installing the desktop client.
If you also use an iPhone, you can keep your data in sync there as well by connecting Nextcloud to iOS.
This guide first walks through the installation and configuration of the client and then explains how to connect calendars and contacts using macOS system settings.
Installation and setup of the Nextcloud Client on macOS
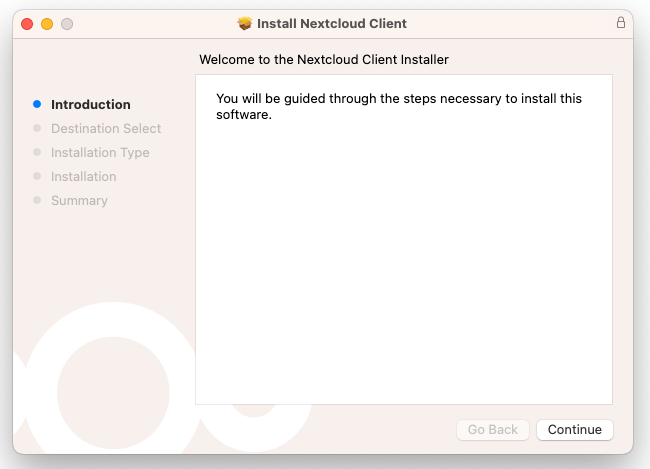
To begin, download the macOS installation package from the official Nextcloud website and open it on your Mac. The installer will guide you through the installation process and place the Nextcloud Desktop client in your Applications folder. At this stage, no additional configuration is required.
Once the installation is complete, you will see a confirmation screen:
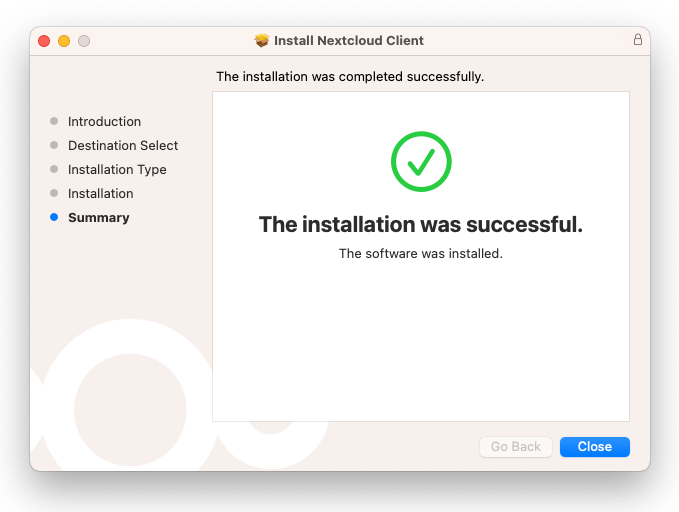
Now you can start the Nextcloud Desktop client from the Applications menu.
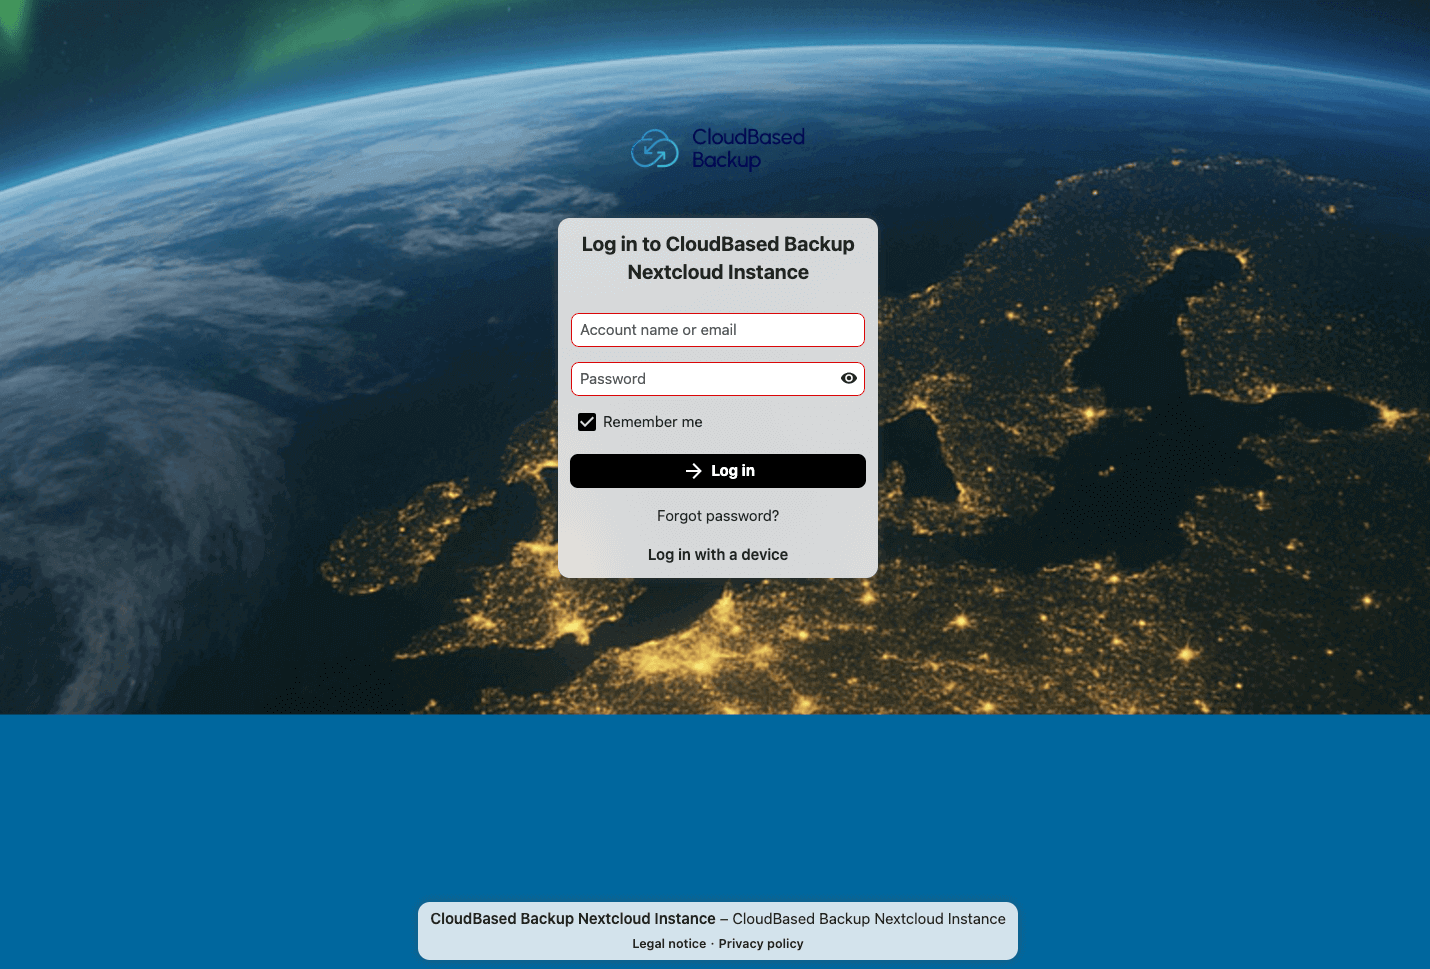
Now, opening the Nextcloud Desktop application shows the initial login screen for connecting to a Nextcloud server.
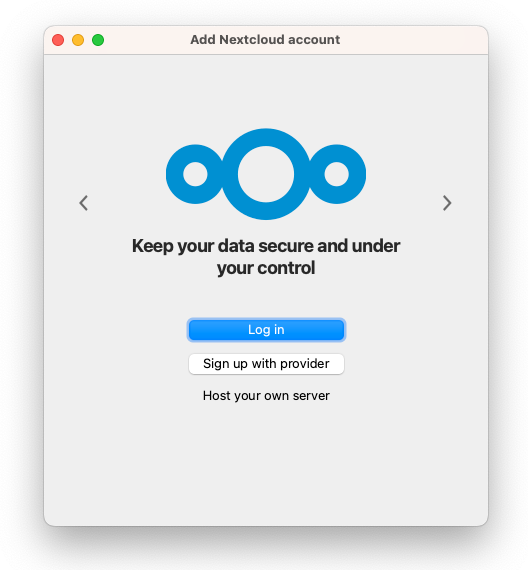
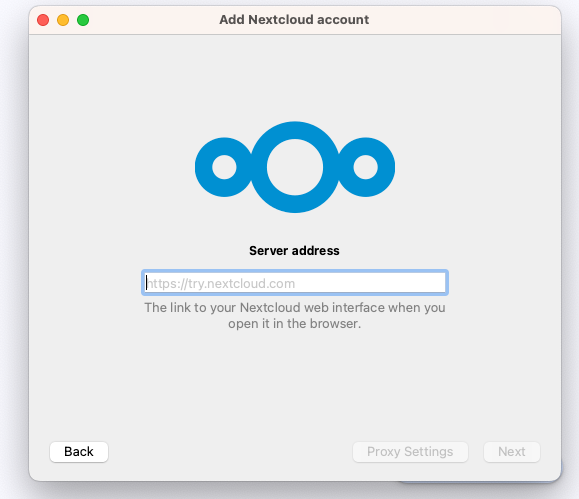
Click on "Log in", and next you will be asked for your server address. This should be the same address you normally use to access Nextcloud in your web browser.
After confirming the server address, you will be prompted to the following interface, which, by the way, opens up the browser automatically to authenticate on your nextcloud. Or alternatively, you can click on the "Open Browser" or click on "Copy Link" and open it in a browser manually.
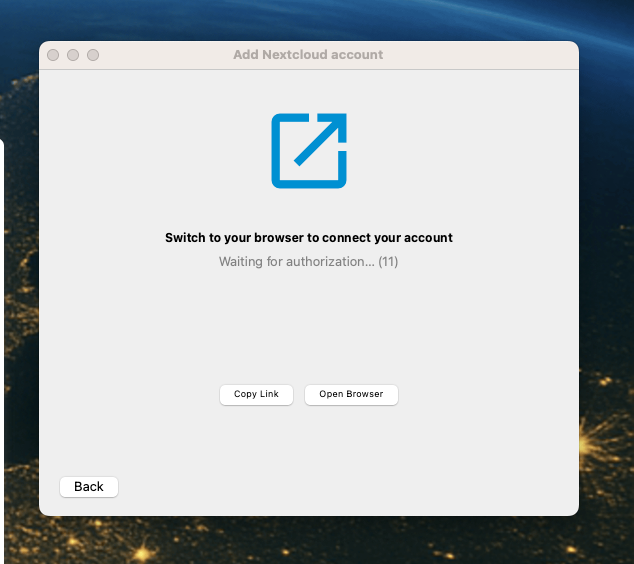
After clicking on the "Open Browser", Nextcloud asks you to log in with your account credentials in the browser.
Or, for the users who are already logged in to Nextcloud in the browser, the following screen will appear:
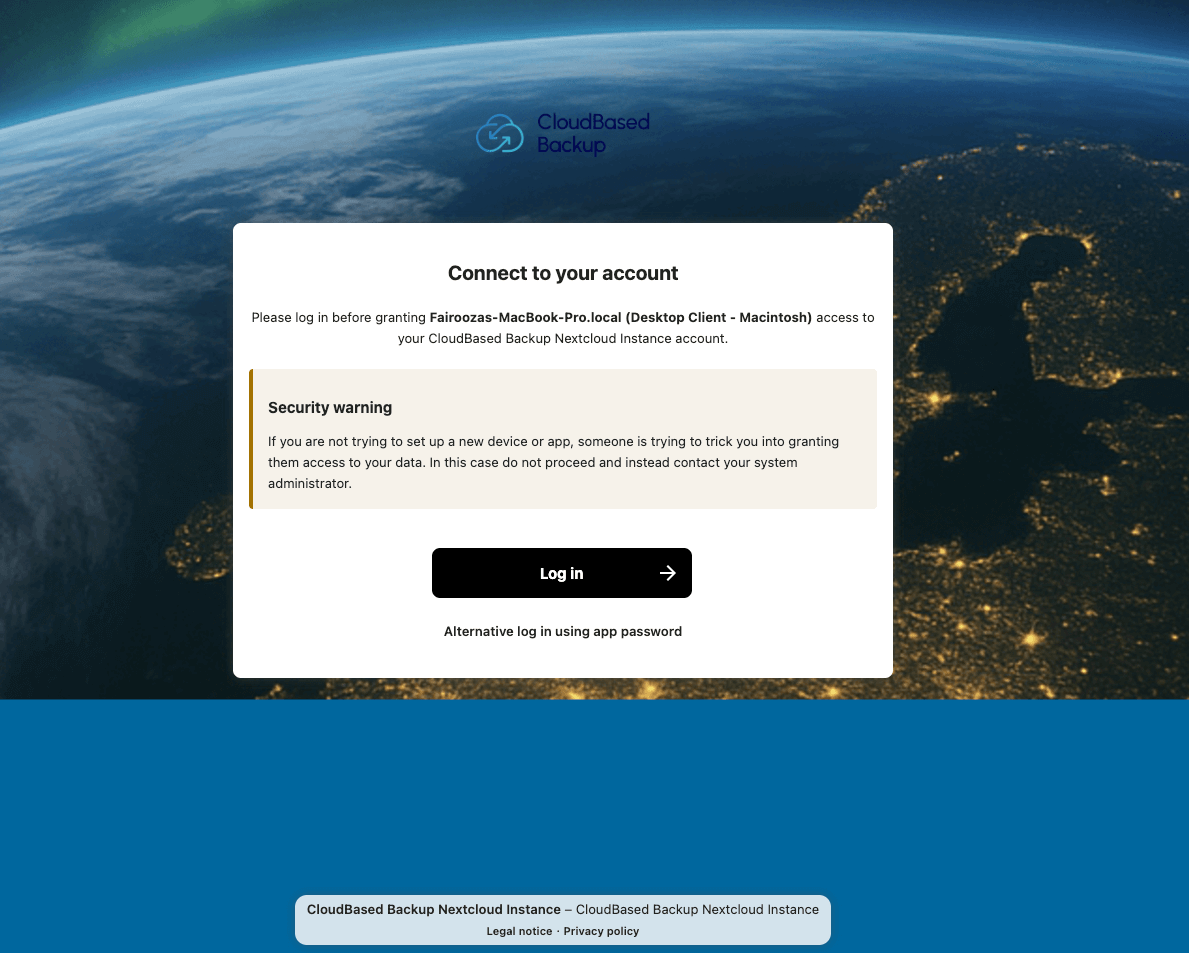
After signing in, Nextcloud shows a confirmation screen where you approve access for the desktop client. Here, click on "Grant access" to continue.

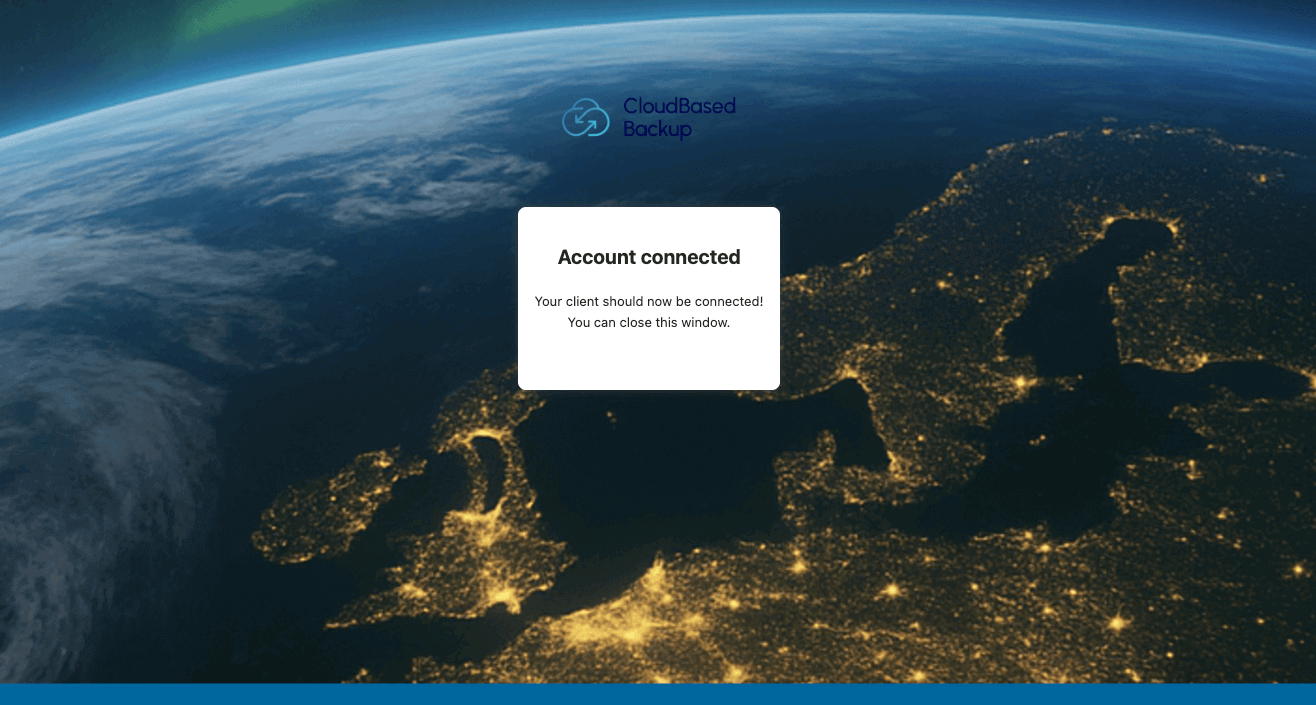
After granting access, Nextcloud confirms that the desktop client is successfully connected.
The desktop client now lets you choose the local folder and decide which files should be synchronized.
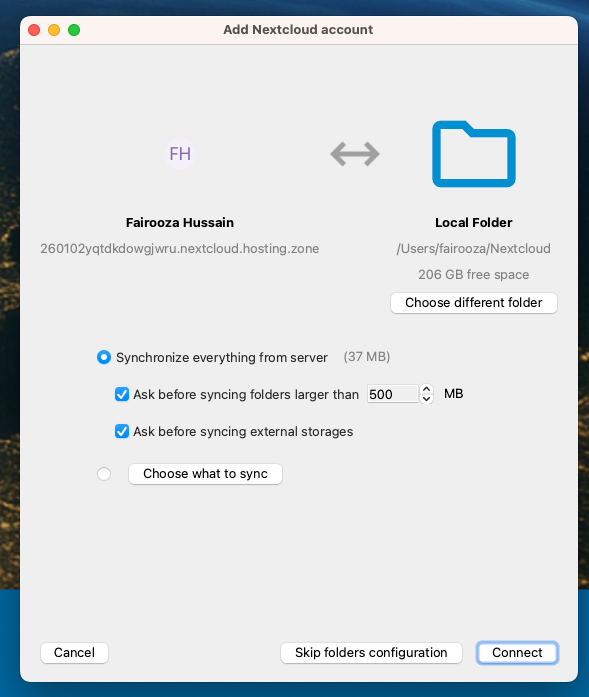
At this point, you can choose the location where Nextcloud should sync files on your computer. You can also keep the default folder or select a different location if needed.
And you can choose to be asked before syncing any large folders or external storage. Additionally, you can further limit which files and folders are synced from the cloud.
Finally, click on "Connect" and this will start syncing your files with Nextcloud.
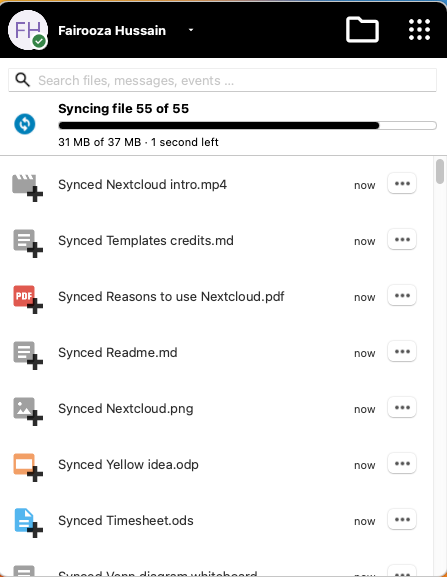
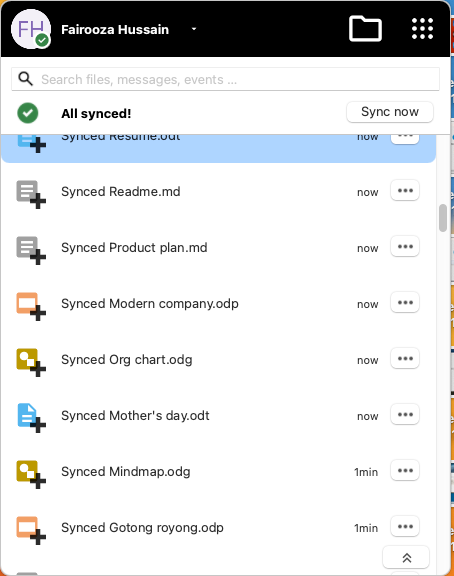
Once syncing is complete, the client looks like this.
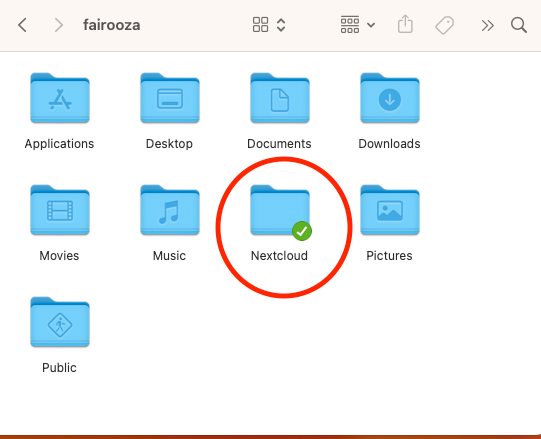
And now you can find the Nextcloud folder listed in the Finder sidebar, making it easy to access.
If the Nextcloud folder does not appear in the Finder sidebar, then use the "Go" menu in the menu bar and select "Home" to access it.
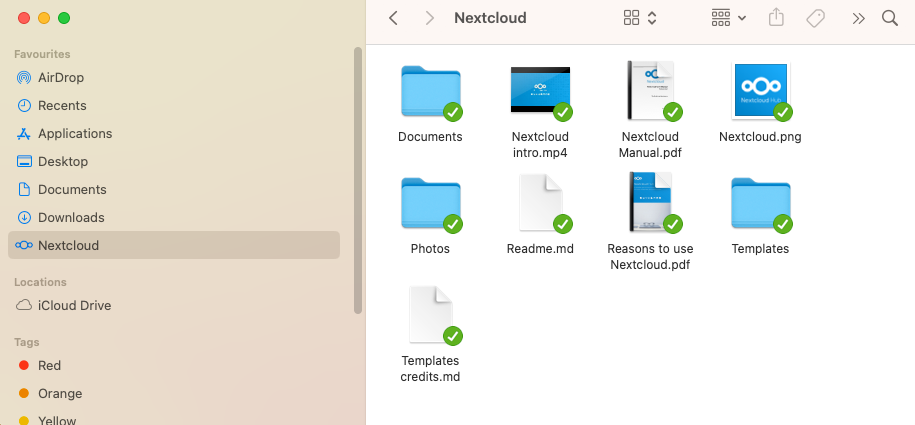
To make sure everything is working correctly, you should then compare the list of files on your computer with those in the Nextcloud web interface.
At this stage, file synchronization is fully set up. Your files will now stay in sync automatically in the background.
Synchronizing Contacts and Calendars on macOS
Even without installing the Nextcloud application, it is possible to sync calendar and contact data from macOS. Calendar entries and reminders are synchronized via CalDAV, while contacts are synchronized using CardDAV. This works independently of the Nextcloud Desktop client.
We have also explained how to sync Nextcloud calendars and contacts with Thunderbird using CalDAV and CardDAV.
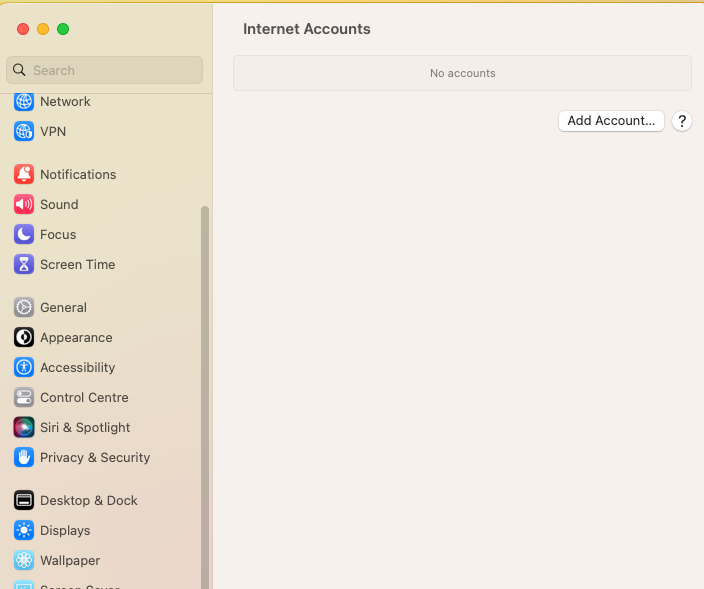
To set this up, open "System Settings" and navigate to "Internet Accounts" on your macOs device.
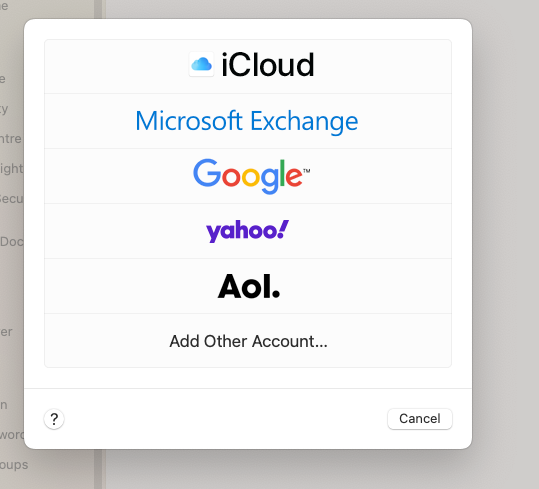
Now click on "Add Account..."
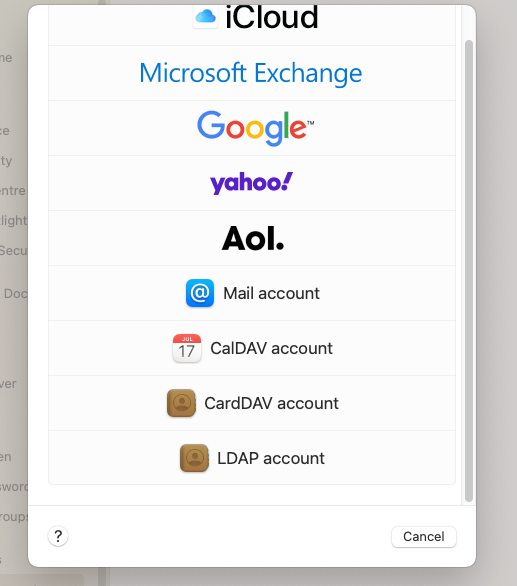
Then select the "Add Other Account...".
Here, select the "CardDAV account".
Then a form will appear:
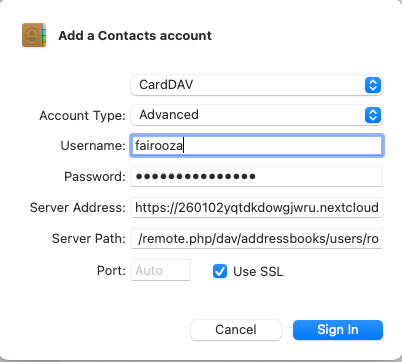
- •Here, choose "Advanced" as the account type, then enter your Nextcloud username and password.
- •In the server address, paste your Nextcloud website address.
- •In the server path, enter /remote.php/dav/addressbooks/users/Username/contacts/ and replace "Username" with your own username.
- •Keep SSL turned on and leave the port as it is, or 443 select it. Once everything is filled in, click Sign In. Your contacts will start syncing automatically.
Once this is done, now go back to the following view:

Select the option "CalDAV account" here.

- •Again, choose the account type as "Advanced".
- •Enter your Nextcloud username and password.
- •For the server address, just use your Nextcloud website address.
- •In the server path, enter /remote.php/dav/principals/users/Username/ and replace the "Username" with your own username.
- •Keep the port set to 443 and make sure Use SSL is enabled.
Now, click "Sign In" and you will be asked what you want to sync. And it’s best to enable both calendars and reminders so that everything stays in sync.
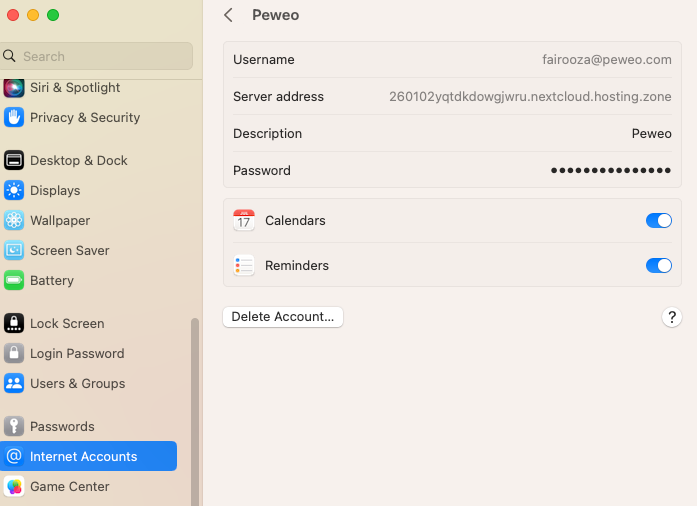
Finally, open the Calendar app and make sure everything is syncing correctly by comparing the events on your Mac with those shown in the Nextcloud web interface.
Secure and privacy-first managed Nextcloud hosted in Germany.
Cloud Insights: Trends, Tips & Technologies

How To Use Nextcloud Talk
Nextcloud Talk is part of the Nextcloud platform, and knowing how to use it properly is important if you want to manage team communication, calls, and meetings directly within your own environment. This guide focuses on how to use Nextcloud Talk in practical terms. It walks through setup, interface basics, messaging and calling features, and key settings that affect daily use. The goal is to help you use it efficiently without unnecessary steps or confusion. Key Takeaway Nextcloud Talk
How To Install Nextcloud On Ubuntu
Managing your own cloud storage gives you control over your files and data privacy. Installing Nextcloud on an Ubuntu server lets you run a self-hosted cloud environment on stable, supported software. This guide covers everything from setting up your server to accessing Nextcloud in a web browser, so you can quickly deploy a secure, functional cloud solution. Key Takeaway Installing Nextcloud on Ubuntu via Snap offers a quick, reliable way to deploy a self-hosted cloud server with minim

Secure File Sharing for Business: How Companies Use Nextcloud for Collaboration
Businesses share sensitive files such as contracts, financial records, customer data, and internal documents every day across teams, devices, and external partners. At the same time, the risks are also increasing. The average cost of a data breach in 2023 reached $4.45 million, and many incidents are linked to unsecured cloud-based file transfers. Even a simple mistake, like sending a file to the wrong recipient, can trigger a GDPR violation. Remote work and constant collaboration with client

Reach out directly at
PEWEO SARL
5, Montée des Aulnes
L-6611 Wasserbillig
LU33030425